Study groups and access codes
Groups, also called arms, split a study’s participants into cohorts that can each receive different questionnaires. Every group has a copyable ID that you use to enroll participants into the correct arm.
The Groups tab
Section titled “The Groups tab”Open a study and select the Groups tab to see every group in the study.
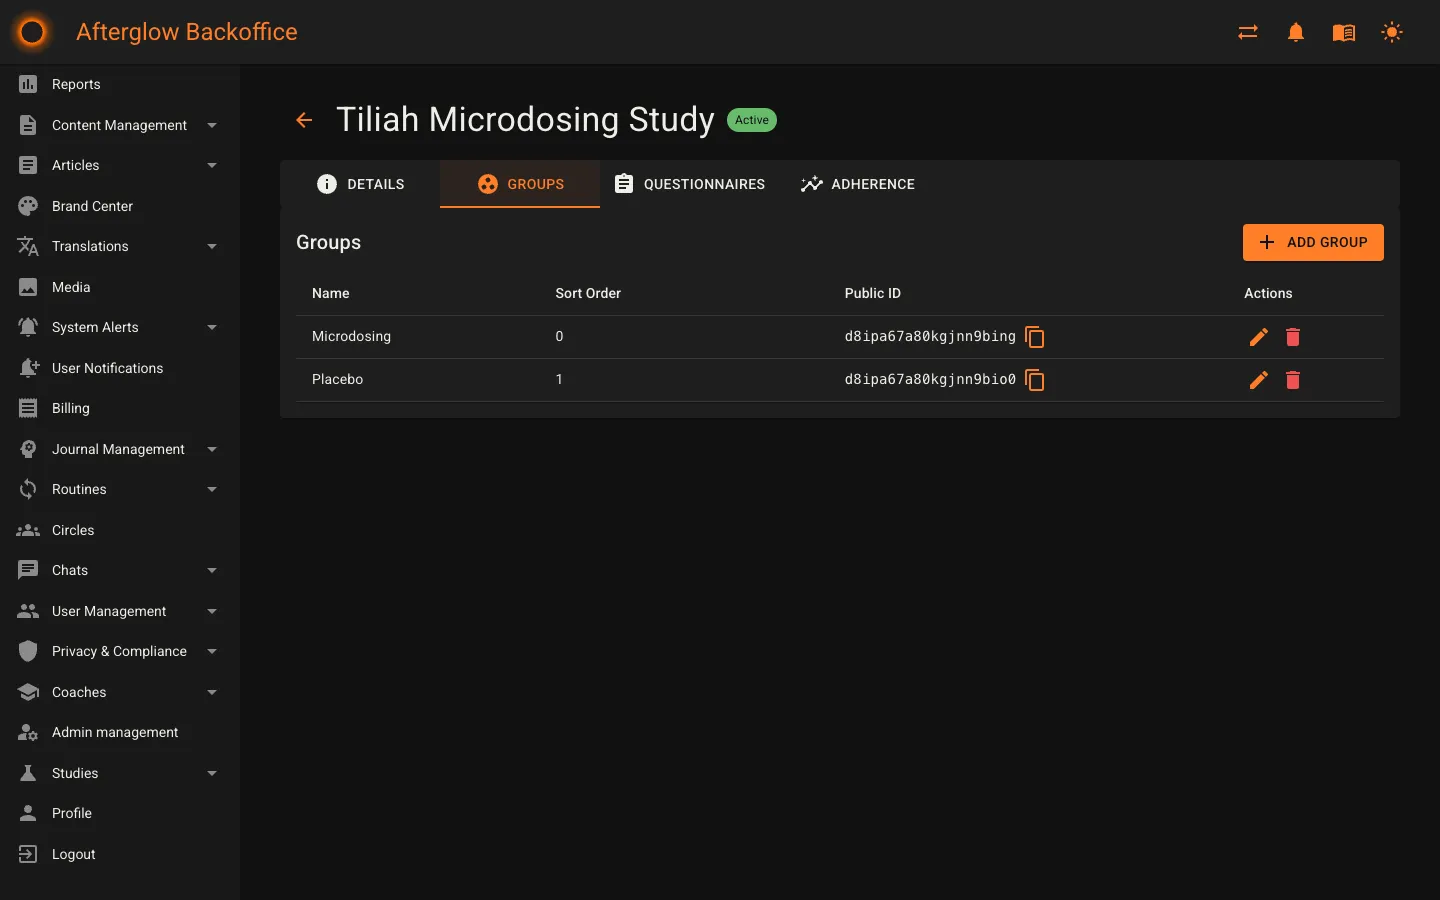
The table lists each group with these columns:
- Name — The group’s label.
- Sort order — The position of the group in the list. Lower numbers appear first.
- Public ID — A unique identifier shown in monospace with a copy icon.
- Actions — Edit or delete the group.
Click Add group in the top-right corner to create a new group.
Adding a group
Section titled “Adding a group”Click Add group to open the dialog, then fill in the fields:
- Enter a Name for the group (required).
- Set the Sort order to control where the group appears in the list. Lower numbers appear first.
- Click Save to create the group.
Name each group so its role is clear. For a study that compares two factors at once — for example, two approaches across two participant types — you might create groups such as “Microdosing / Female”, “Microdosing / Male”, “Lifestyle / Female”, and “Lifestyle / Male”. Each group can then be given its own set of questionnaires.
Editing and deleting a group
Section titled “Editing and deleting a group”To change a group, click Edit on its row. You can update the name and the sort order.
To remove a group, click Delete and confirm. A group that already has enrolled participants cannot be deleted.
Group IDs and participant access codes
Section titled “Group IDs and participant access codes”Each group has its own ID. Click the copy icon next to the Public ID to copy it.
Your research partner uses this ID, together with the study, when generating each participant’s access code. When the participant redeems their code in the app, they are enrolled into the matching group automatically. Always pair the right group ID with the right participant so each person lands in the intended arm.
The access code itself is created in one of two places:
- In User Management, by selecting the study group when you create the code.
- By your research partner through the Access codes integration.